
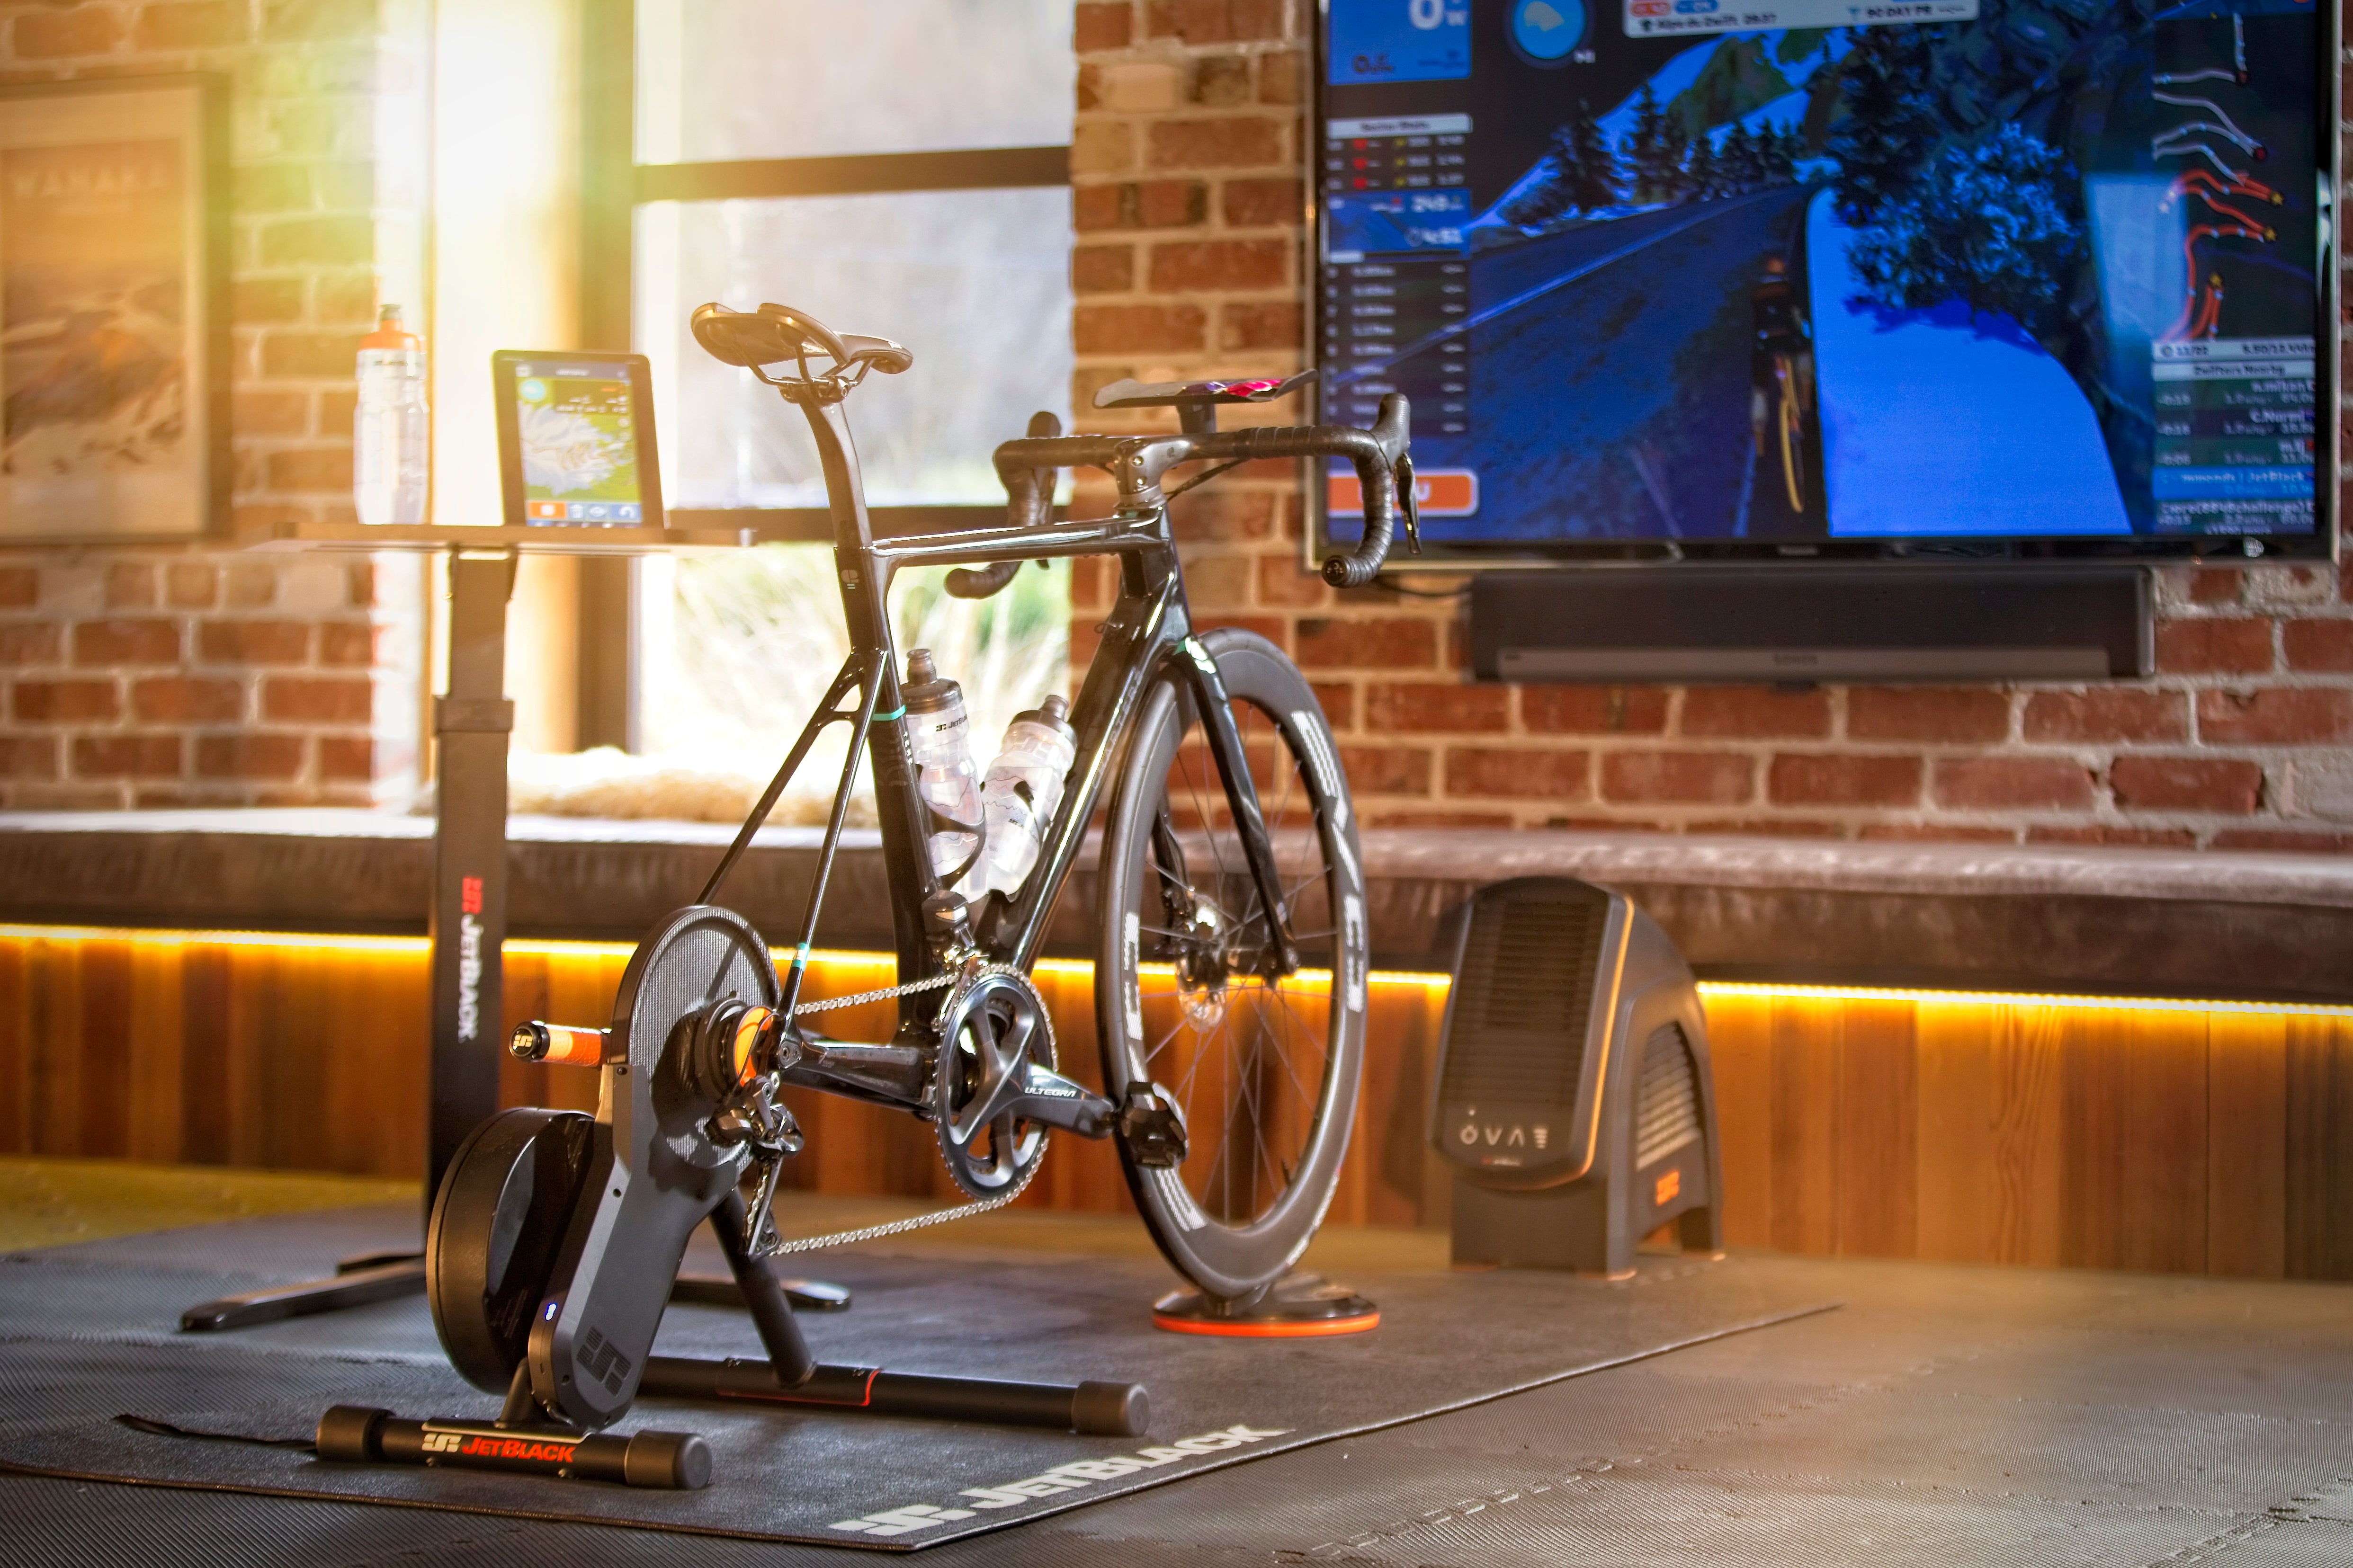
A smart trainer gets you riding indoors.
A great setup makes you want to keep riding indoors.
Comfort, cooling, movement and accessibility become increasingly important as your sessions get longer. The good news is that you don't need to build an elaborate pain cave overnight.
Start with the essentials and build from there.
1. Start With the Smart Trainer
The trainer is the heart of the setup.
A direct-drive smart trainer such as the JetBlack VICTORY measures your power and automatically adjusts resistance based on your workout or virtual terrain.
That means climbs get harder, descents get easier and structured workouts can automatically hold you at your target power.
For most riders, this is the single biggest upgrade you can make to indoor cycling.
2. Protect the Floor With a Trainer Mat
Indoor cycling produces two things surprisingly well: power and sweat.
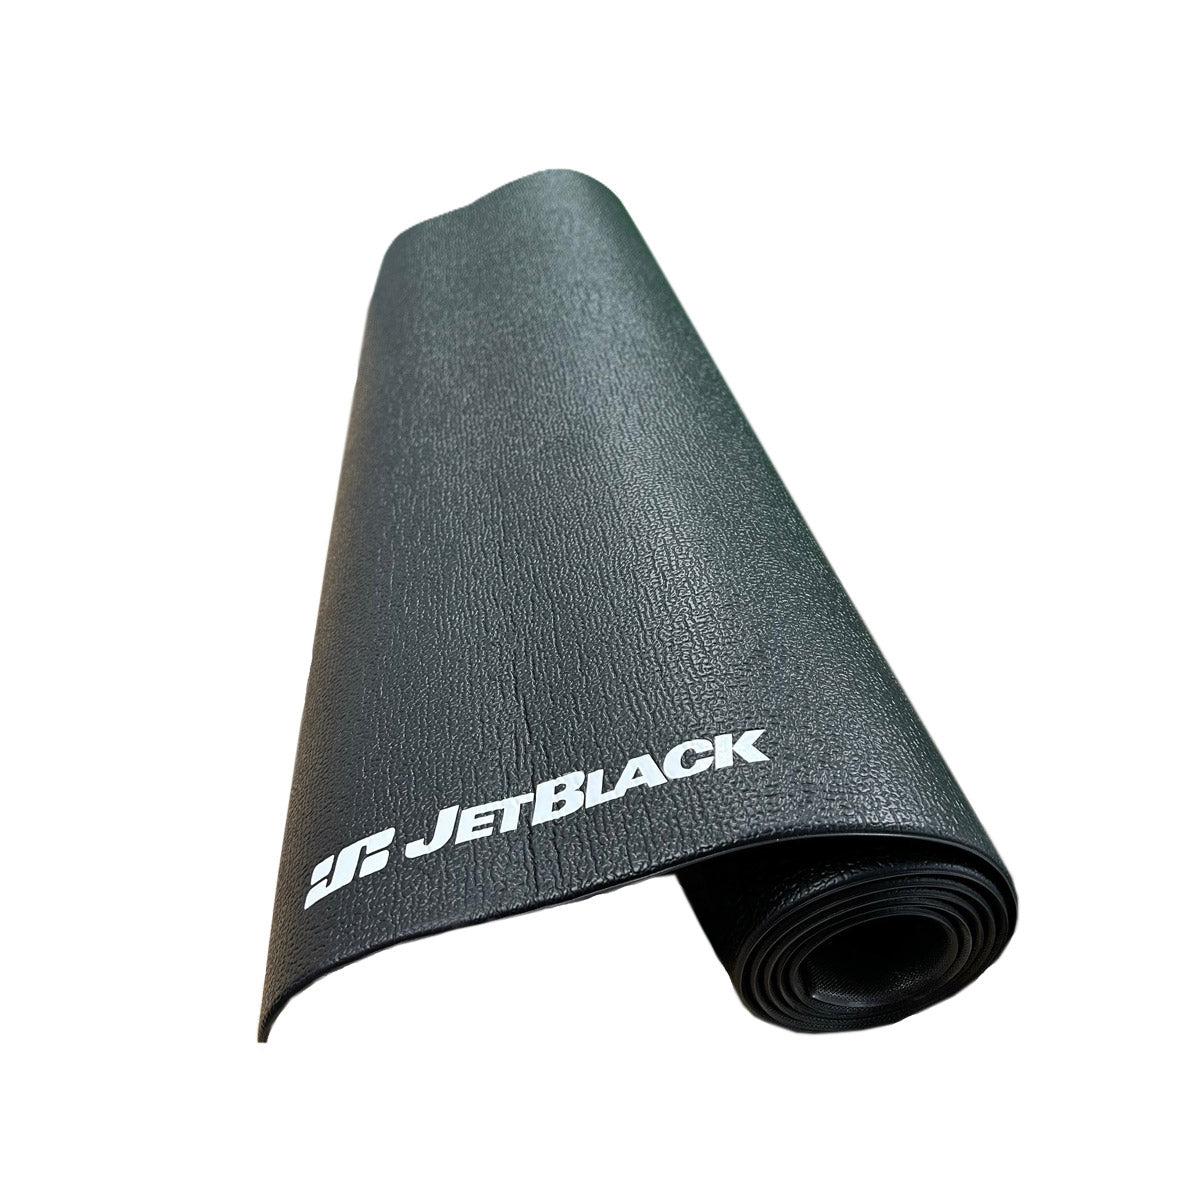
A Trainer Mat protects your floor, creates a dedicated training area and helps reduce vibration between your trainer and the floor.
It's particularly useful when training on hardwood, tile or other finished surfaces.
And yes — you'll still need to wipe everything down after a hard session.
3. Get a Proper Fan
Cooling isn't a luxury indoors.
Outside, even a moderate riding speed creates constant airflow across your body. Indoors, that airflow disappears.
Without adequate cooling, you'll overheat faster, sweat more and struggle to maintain the same power.
Position a Trainer Fan so airflow reaches your upper body and face.
For hard sessions, you'll wonder how you ever trained without one.
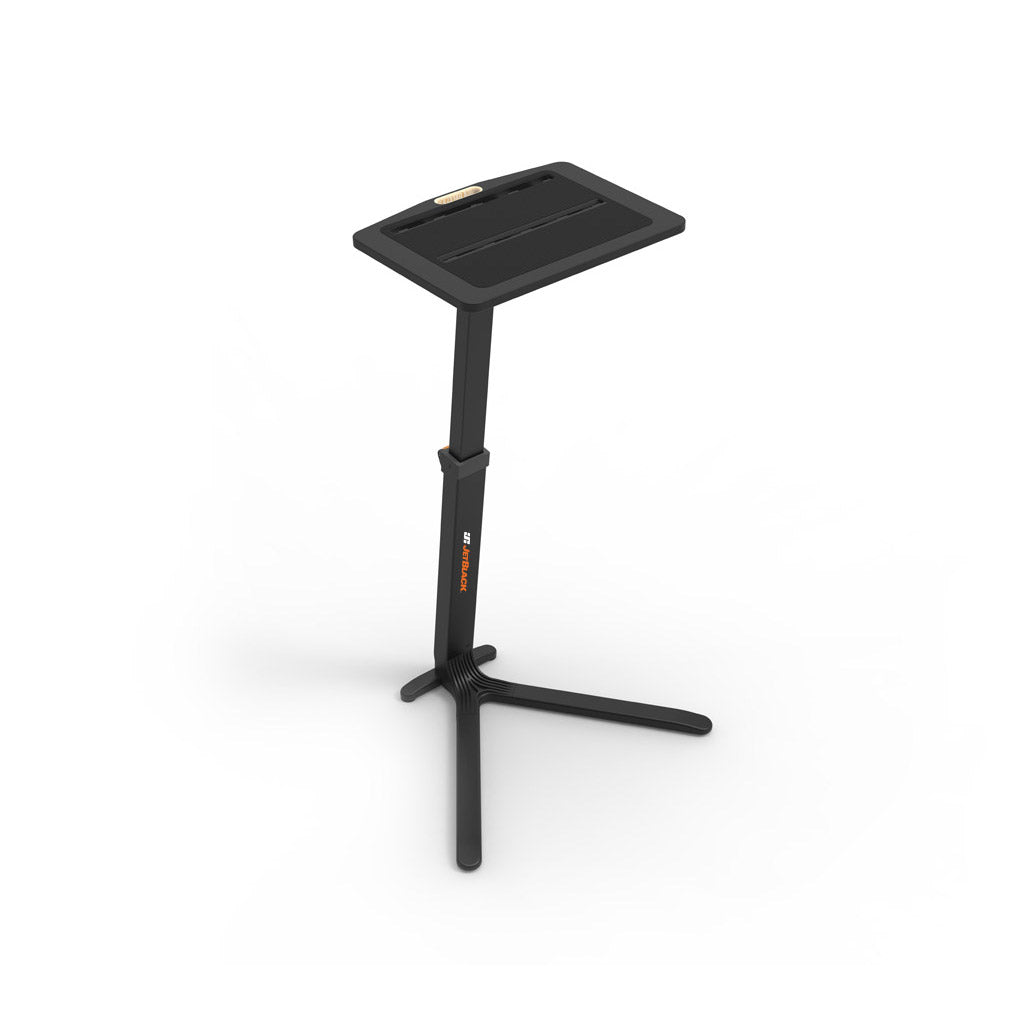
4. Keep Everything Within Reach
Power tells you what you're producing.
Heart rate helps show how your body is responding.
Using a Heart Rate Monitor alongside trainer power gives you another valuable training metric, particularly during endurance rides, threshold work and fitness testing.
Over time, comparing heart rate and power can help you better understand changes in your fitness.
5. Add Heart Rate
Power tells you what you're producing.
Heart rate helps show how your body is responding.
Using a Heart Rate Monitor alongside trainer power gives you another valuable training metric, particularly during endurance rides, threshold work and fitness testing.
Over time, comparing heart rate and power can help you better understand changes in your fitness.
6. Add Movement With Freedom Rocker Feet
Traditional indoor trainers are extremely rigid.
Your outdoor bike isn't.
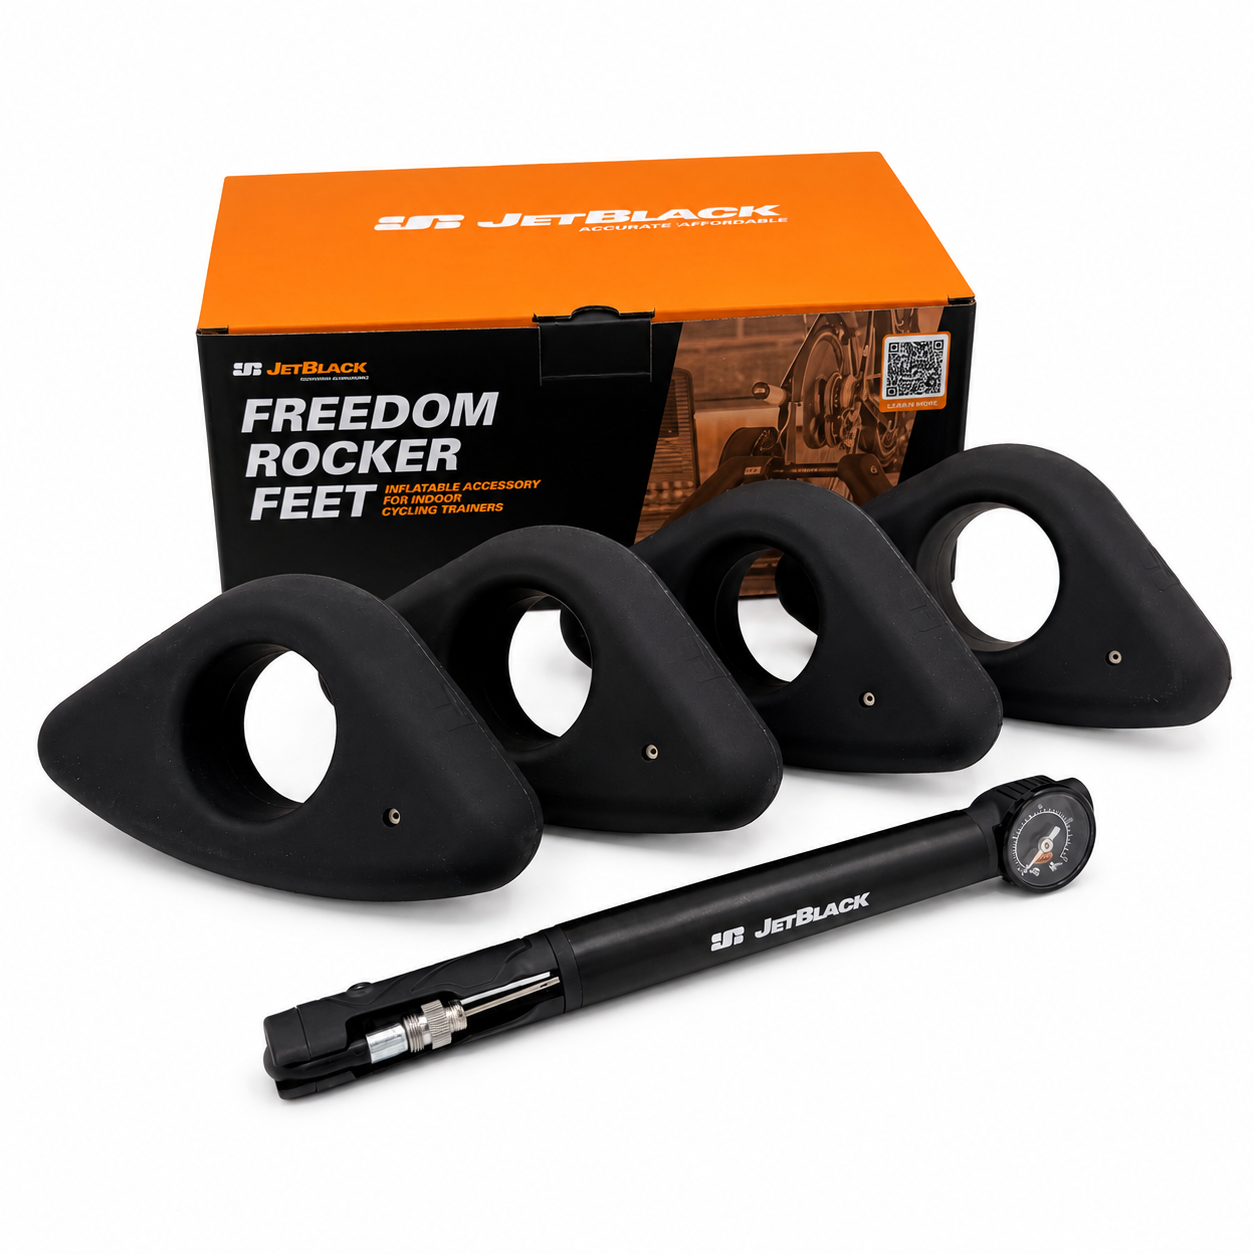
Freedom Rocker Feet introduce controlled movement beneath compatible trainers, allowing the setup to move forward, backward and slightly side to side.
The amount of movement can be adjusted by changing inflation pressure.
For longer rides, that extra freedom can make the setup feel noticeably more natural and comfortable.
They're also compact compared with a traditional full-size rocker plate.
7. Dial In Your Front End
Your front wheel deserves attention too.
A riser or Smart Turn Block can help position the bike properly and, depending on your setup, add another level of interaction to indoor riding.
The goal is simple: create a riding position that feels natural enough that you can forget you're inside.
Build Your Setup Around How You Ride
You don't need everything on day one.
For a basic setup:
Trainer + Mat + Fan
For regular structured training:
Trainer + Mat + Fan + Table + Heart Rate Monitor
For the complete experience:
Trainer + Mat + Fan + Table + Heart Rate Monitor + Freedom Rocker Feet + Front Wheel Block
Start simple. Add what solves a problem.
Before long, that corner of the basement or garage won't just be where you ride when the weather is bad.
It'll be where you train.
Share:
Zwift Cog & Click Explained: Everything You Need to Know
What Are Rocker Feet? Benefits, Compatibility & How to Choose the Right Set